Straight from the website:
An open source, off-grid, decentralized, mesh network built to run on affordable, low-power devices
Sounds great! Let’s order one.
It took about 2 weeks to come, over Christmas, so about as long as expected.
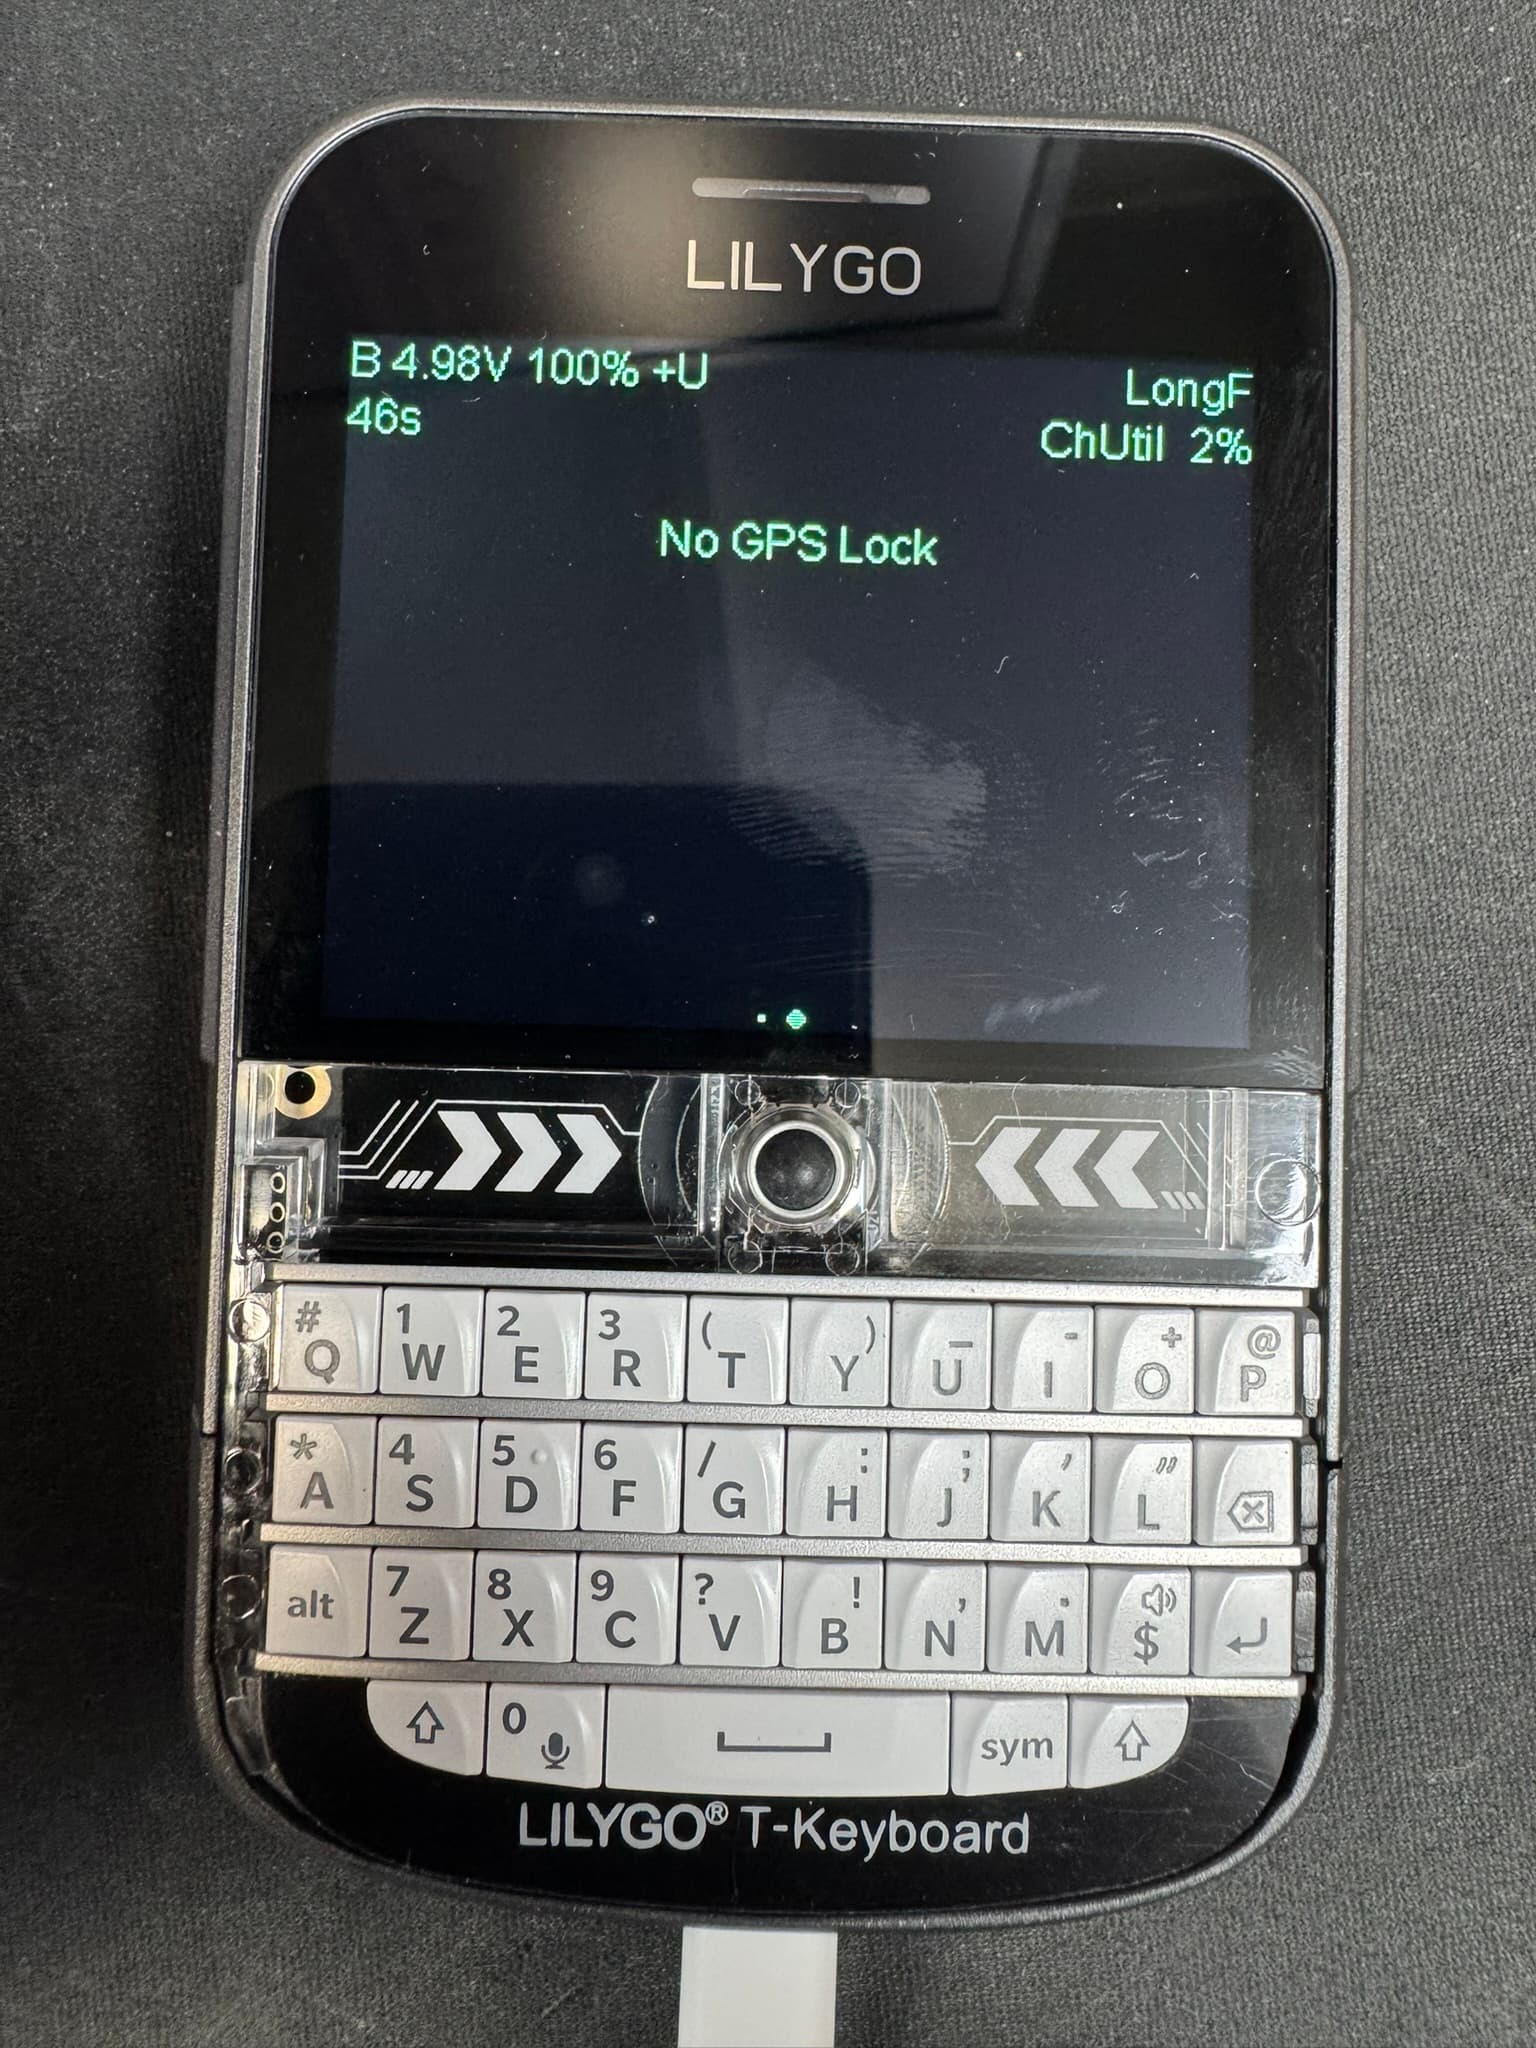
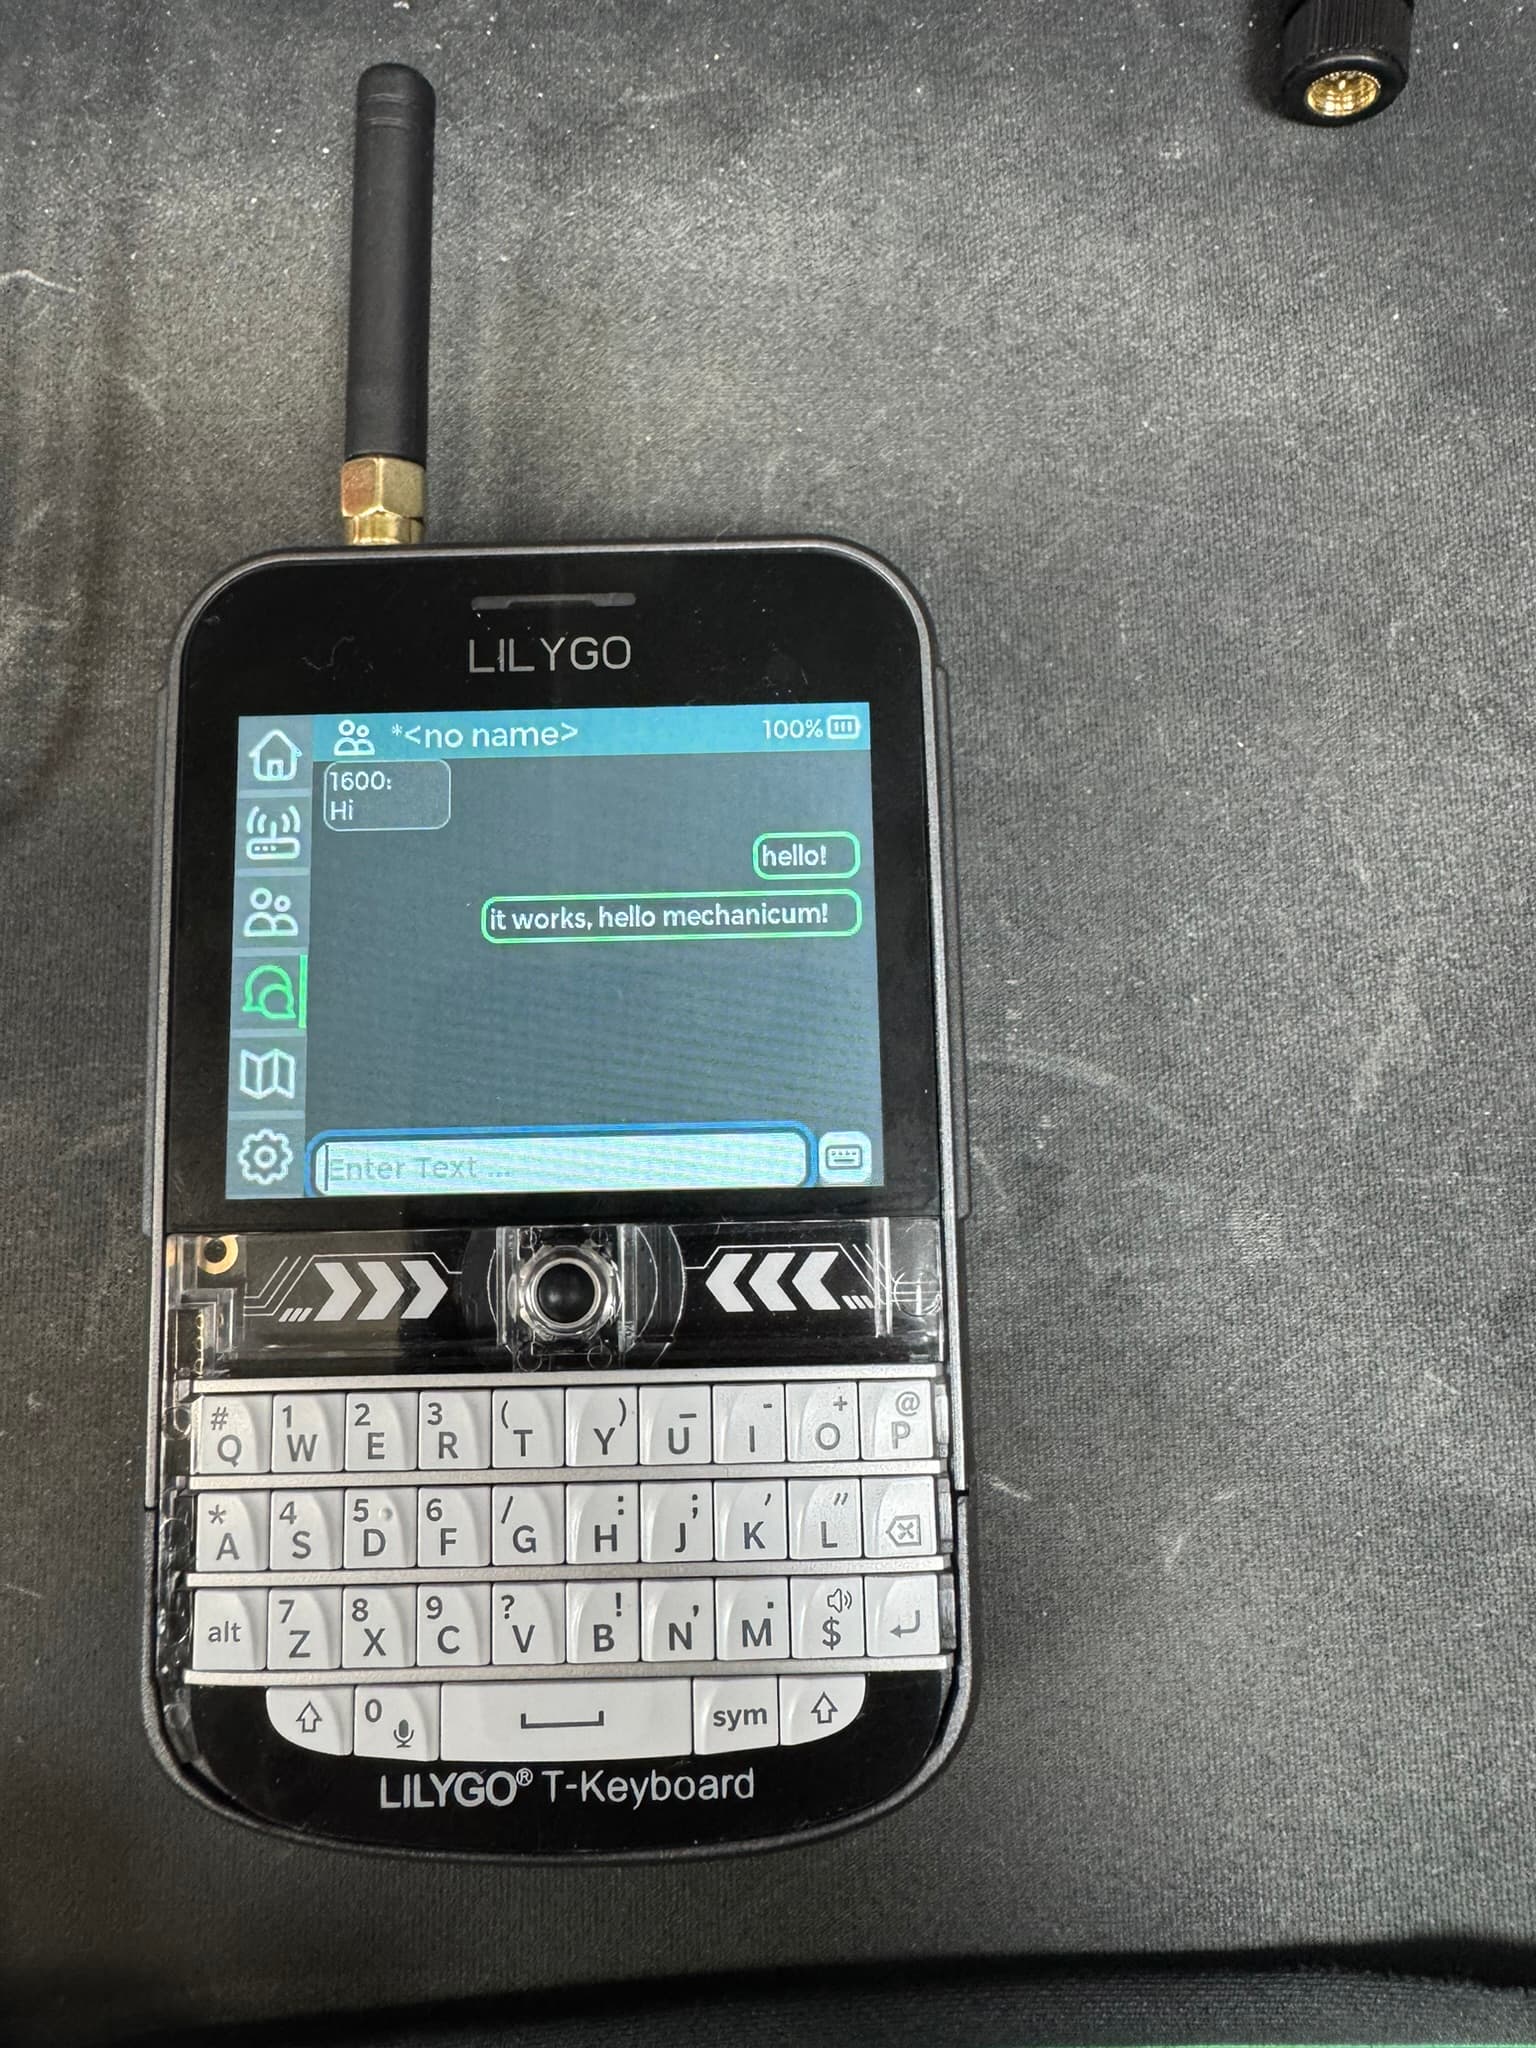
The base software seems very… basic. I couldn’t get it into a usable mode, and it seems it’s only usable when in bluetooth to a phone. Sorta defeated the purpose of it for me, if it has a keyboard… so let’s put the the Meshtastic GUI firmware on it.
Custom Firmware
While we say it’s custom, it’s the same codebase of the default firmware, except it’s more in active development. However, it offers a lot more of a “off-grid mobile service” then the default firmware.
The standard way to upload it would be through their website firmware updater.
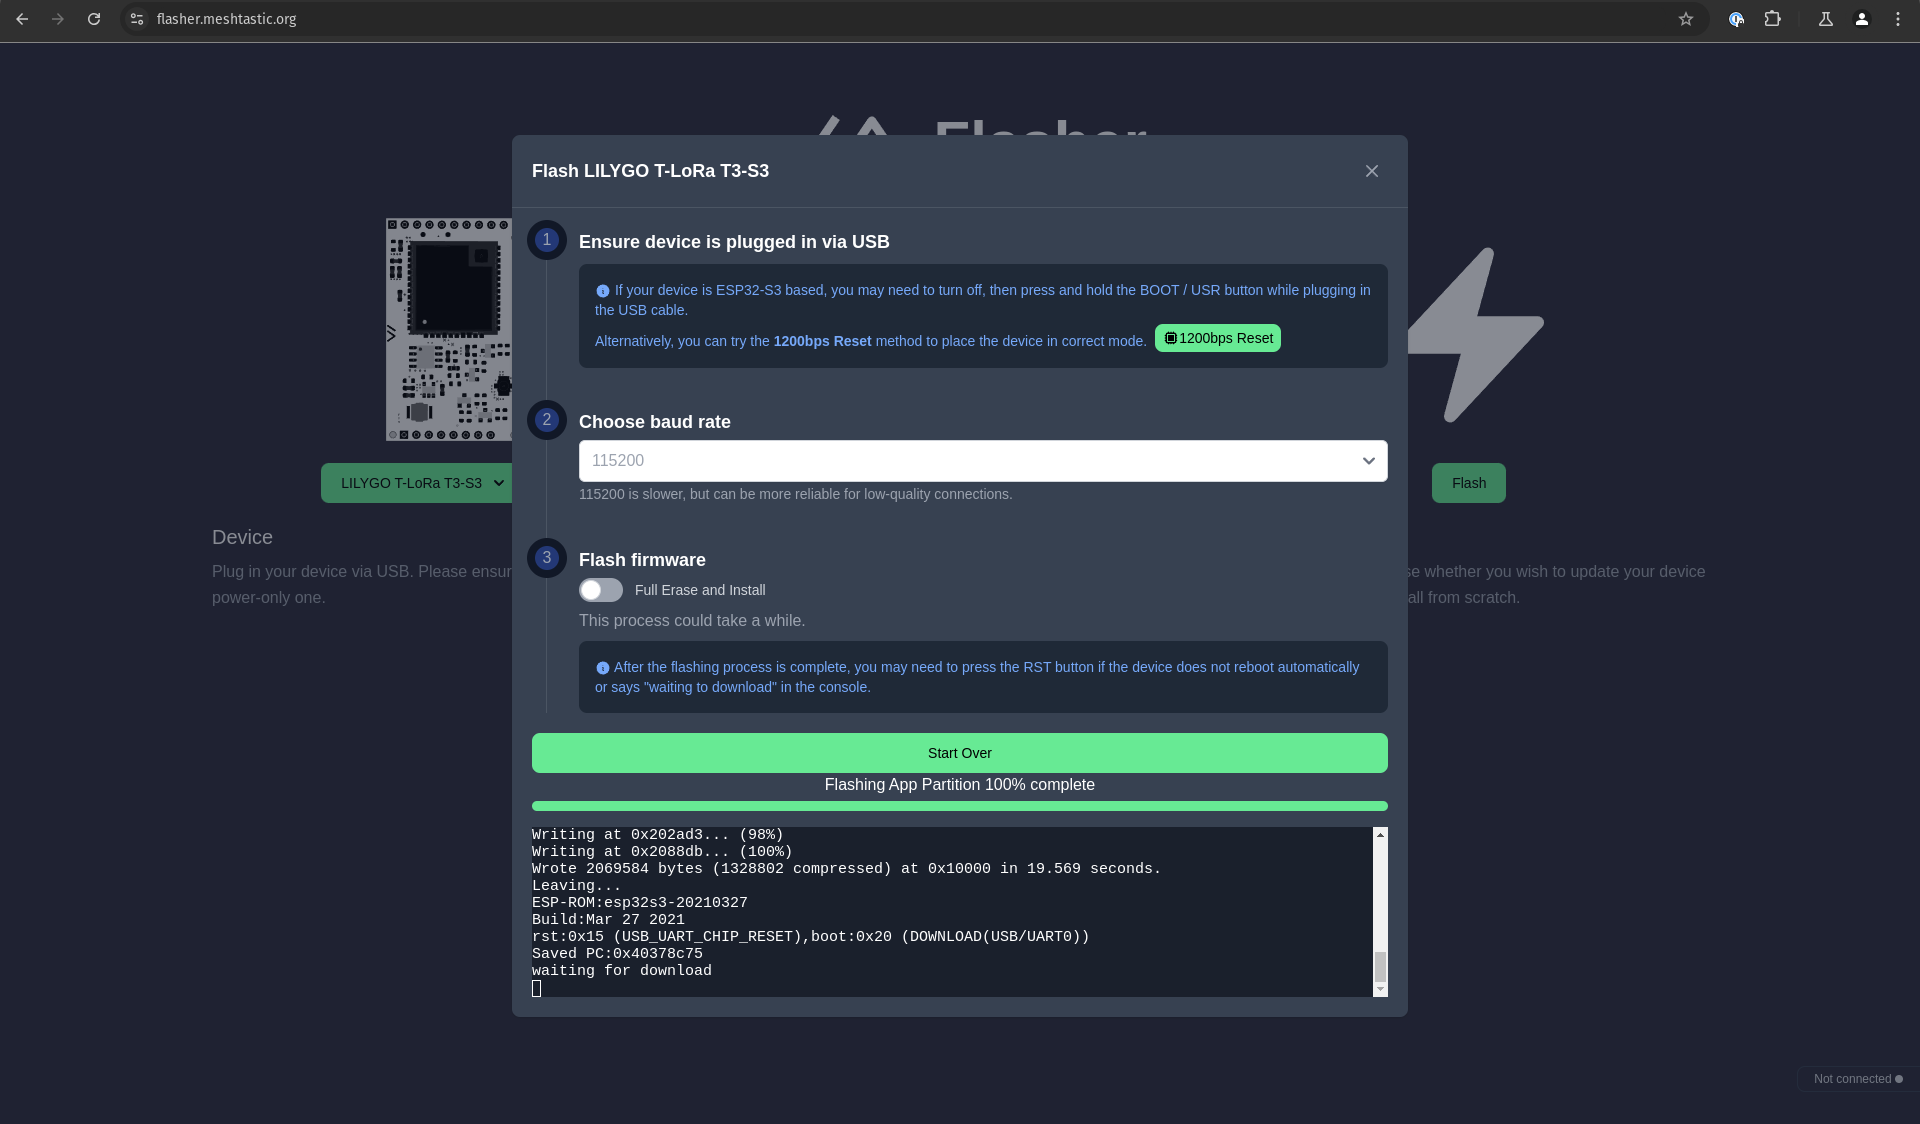
However, they have since stopped doing firmware builds of it. I believe this was because people kept opening issues of bugs… when it definitely has a lot of bugs.
Though, if you don’t want to compile yourself, you can try this firmware I compiled on the 28/12/2024.
t-deck-tft-plus-28-12-2024-firmware.bin.tar.gz (1.5 MB)
You should definitely not trust mine, and compile it yourself though. Which is really straight forward.
Get the repo set up
git clone https://github.com/meshtastic/firmware
Then checkout the tft-gui-work branch
git checkout tft-gui-work
We get the submodules
git submodule update --init .
Then we open in VSCode, where it will prompt to install PlatformIO. You should do this, so you can build and push directly to the device.
Choose the firmware
At the bottom of the screen is an ENV. Make sure you choose t-deck-tft. If you just do t-deck, well you won’t get the GUI.

Build and Push
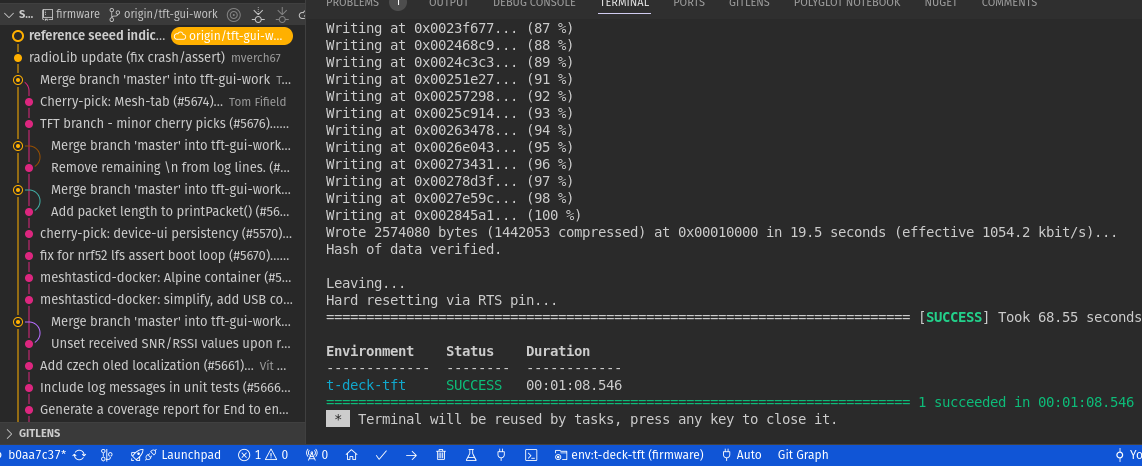
Then we click the little green tick at the bottom for it to compile. We press the right arrow to push it to the device. Restart the device and enjoy the custom firmware experience.
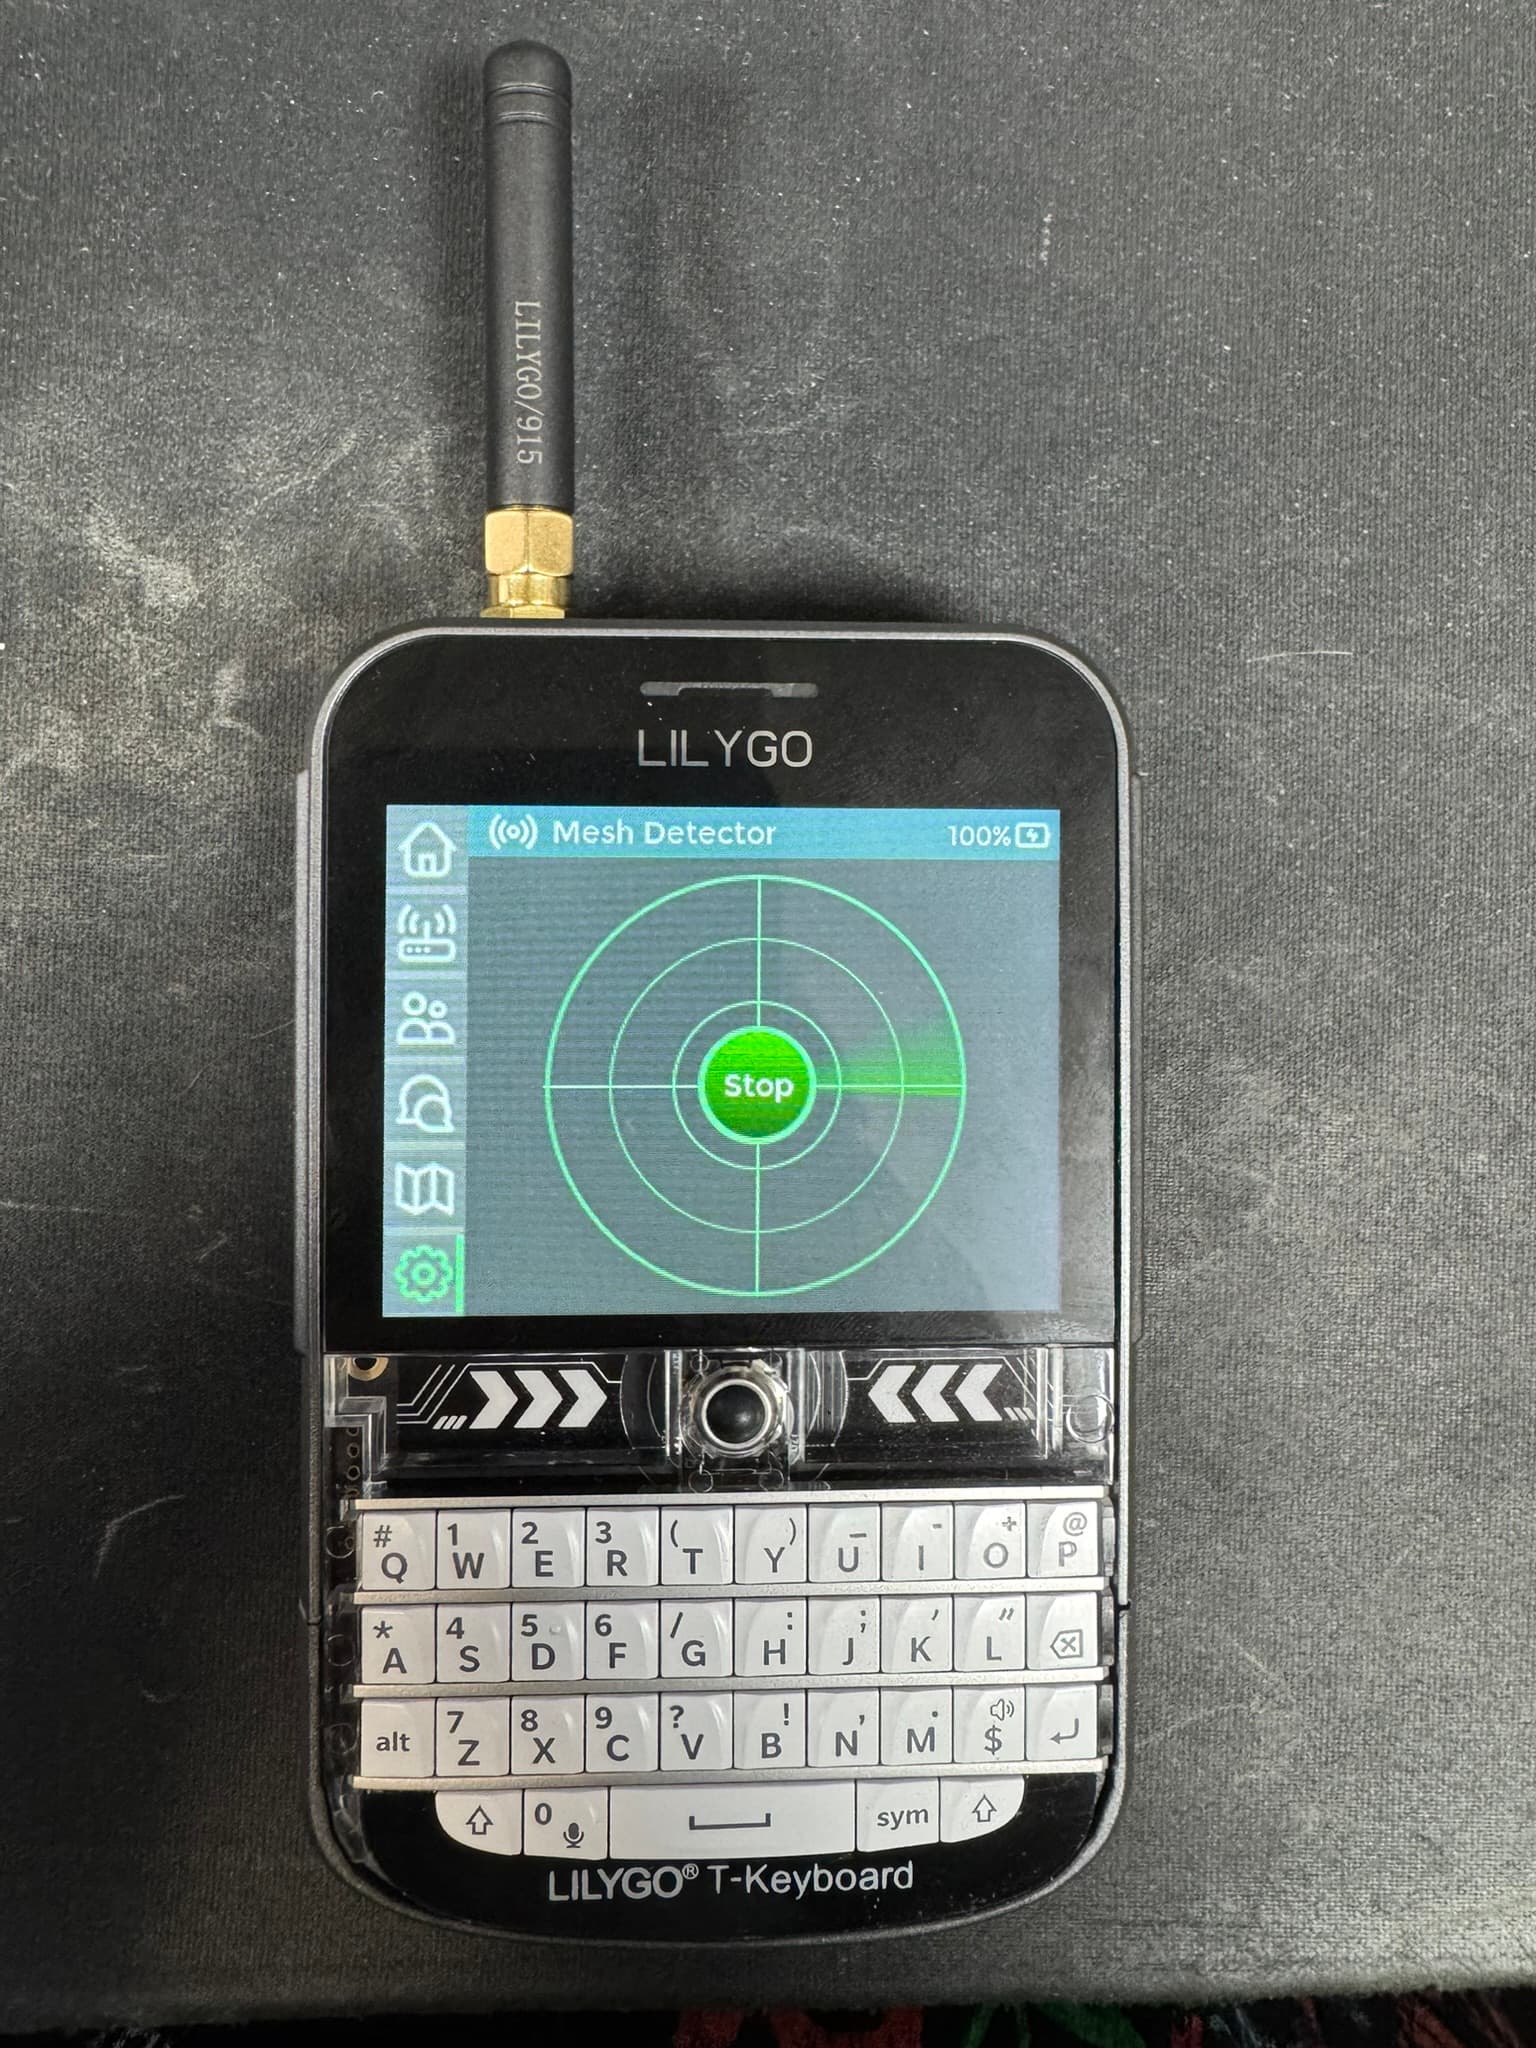
Which then brings me to, a custom Antenna!
Custom Meshtastic antenna
I also bought a standalone module to do a relay node on the roof.
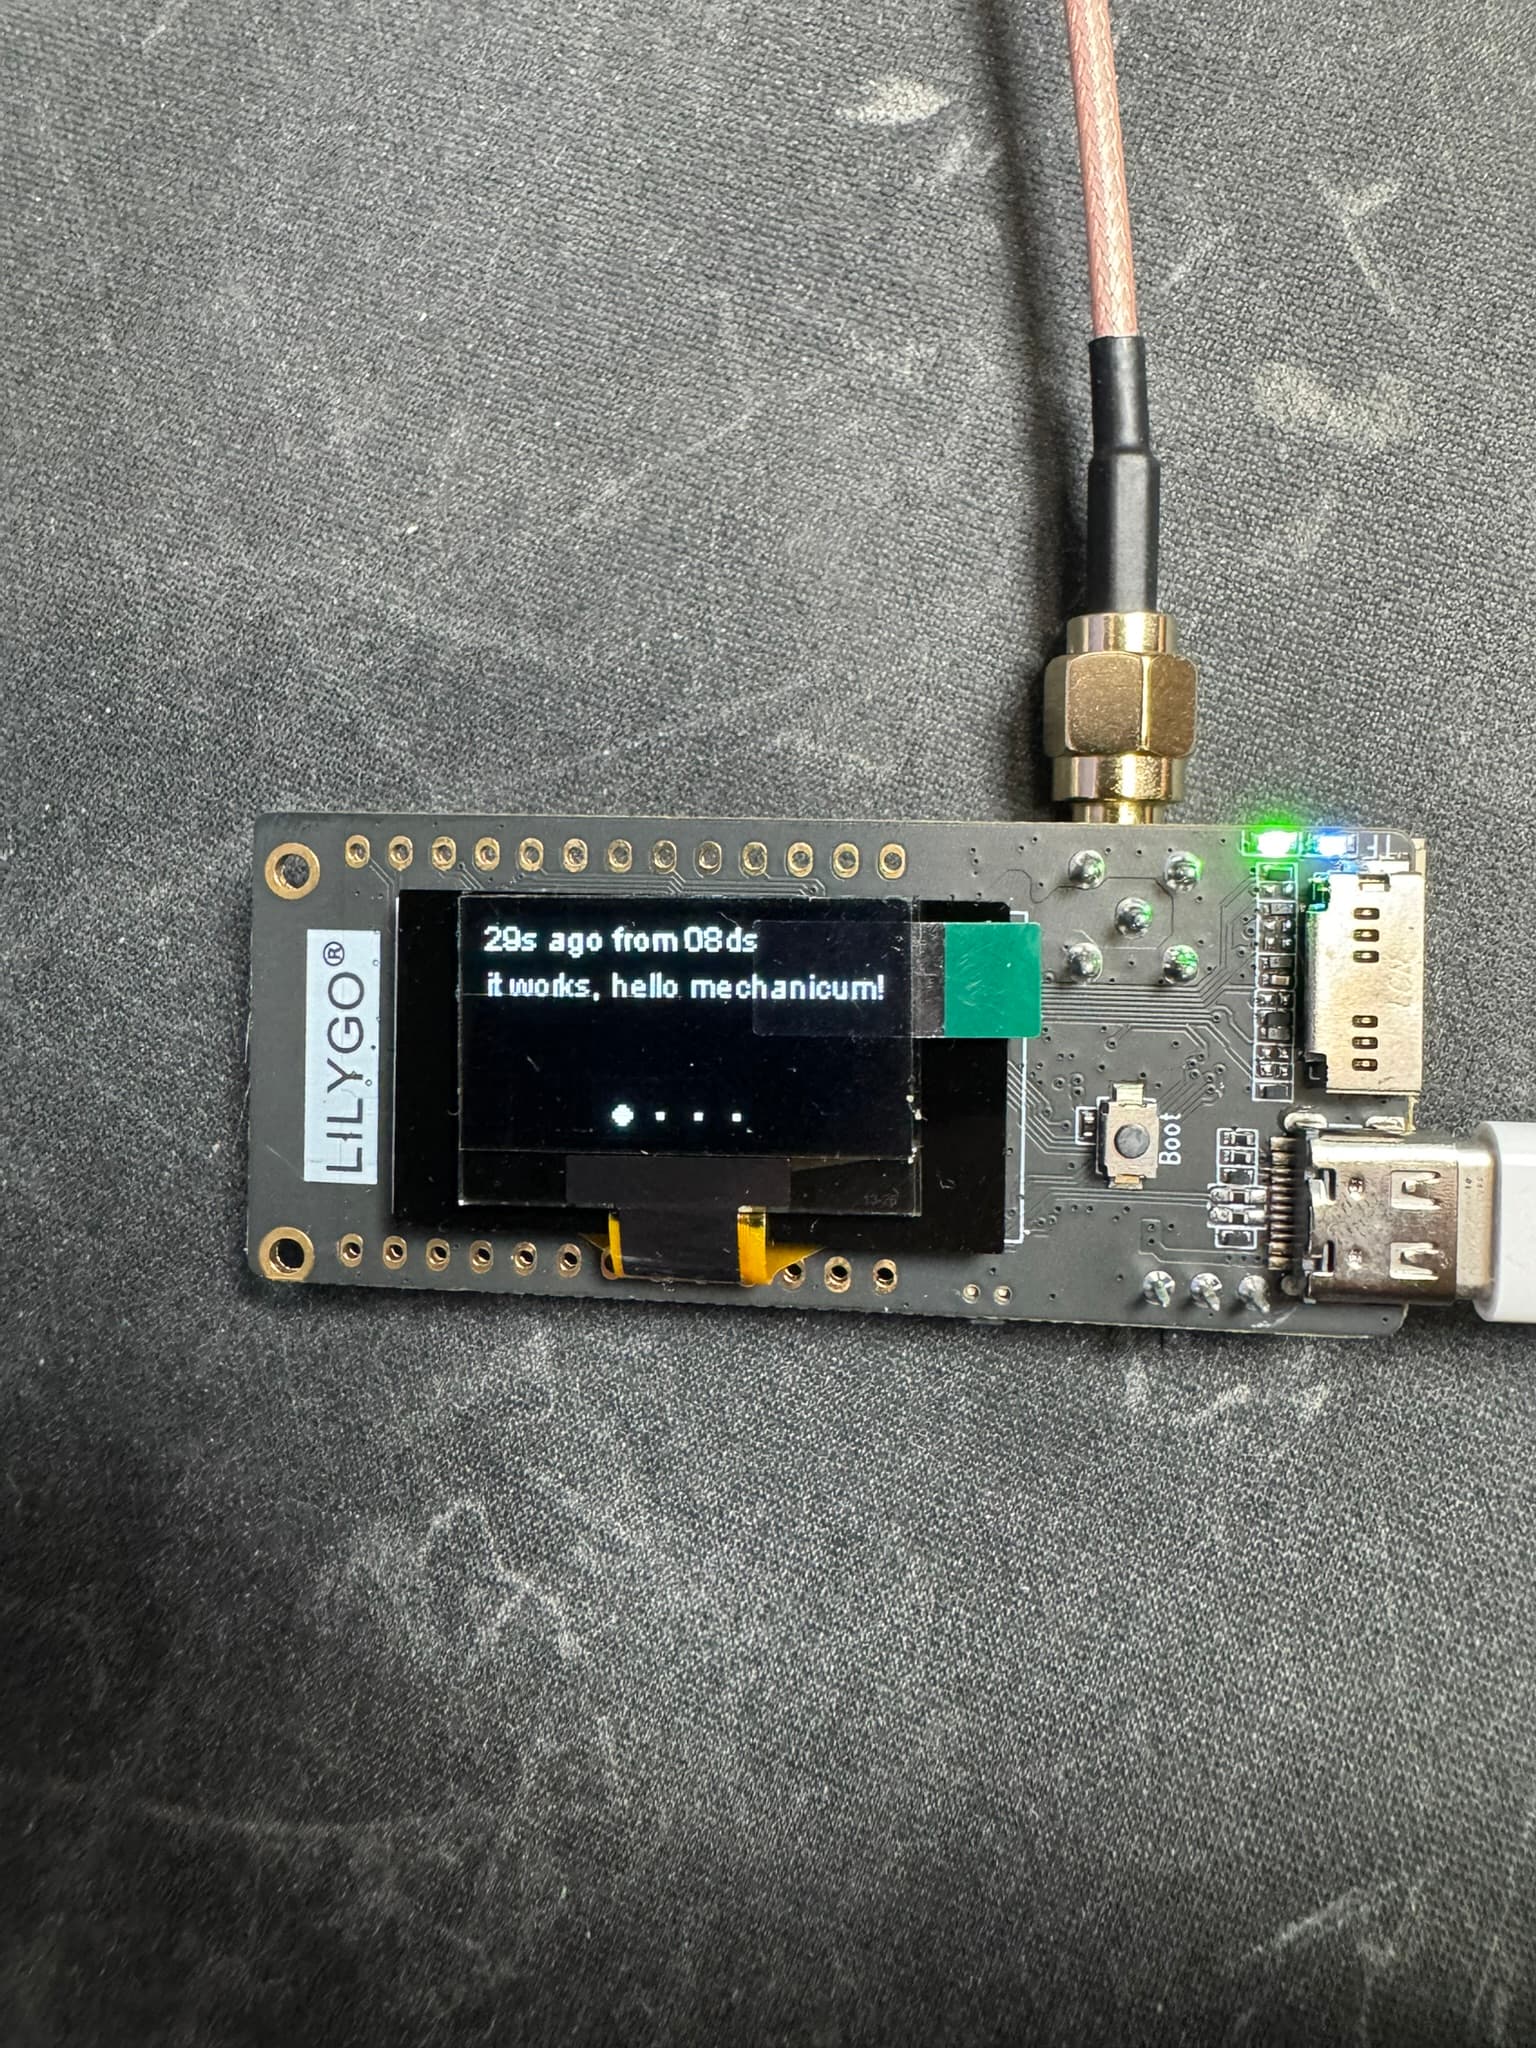
This came with the Antenna you now see on my T-Deck.
However, I have coax running to the roof already so instead got an adapter to use. Then, I modified the t-deck to support the antenna.
To help with this I got this adapter when ordering.
And the build was…
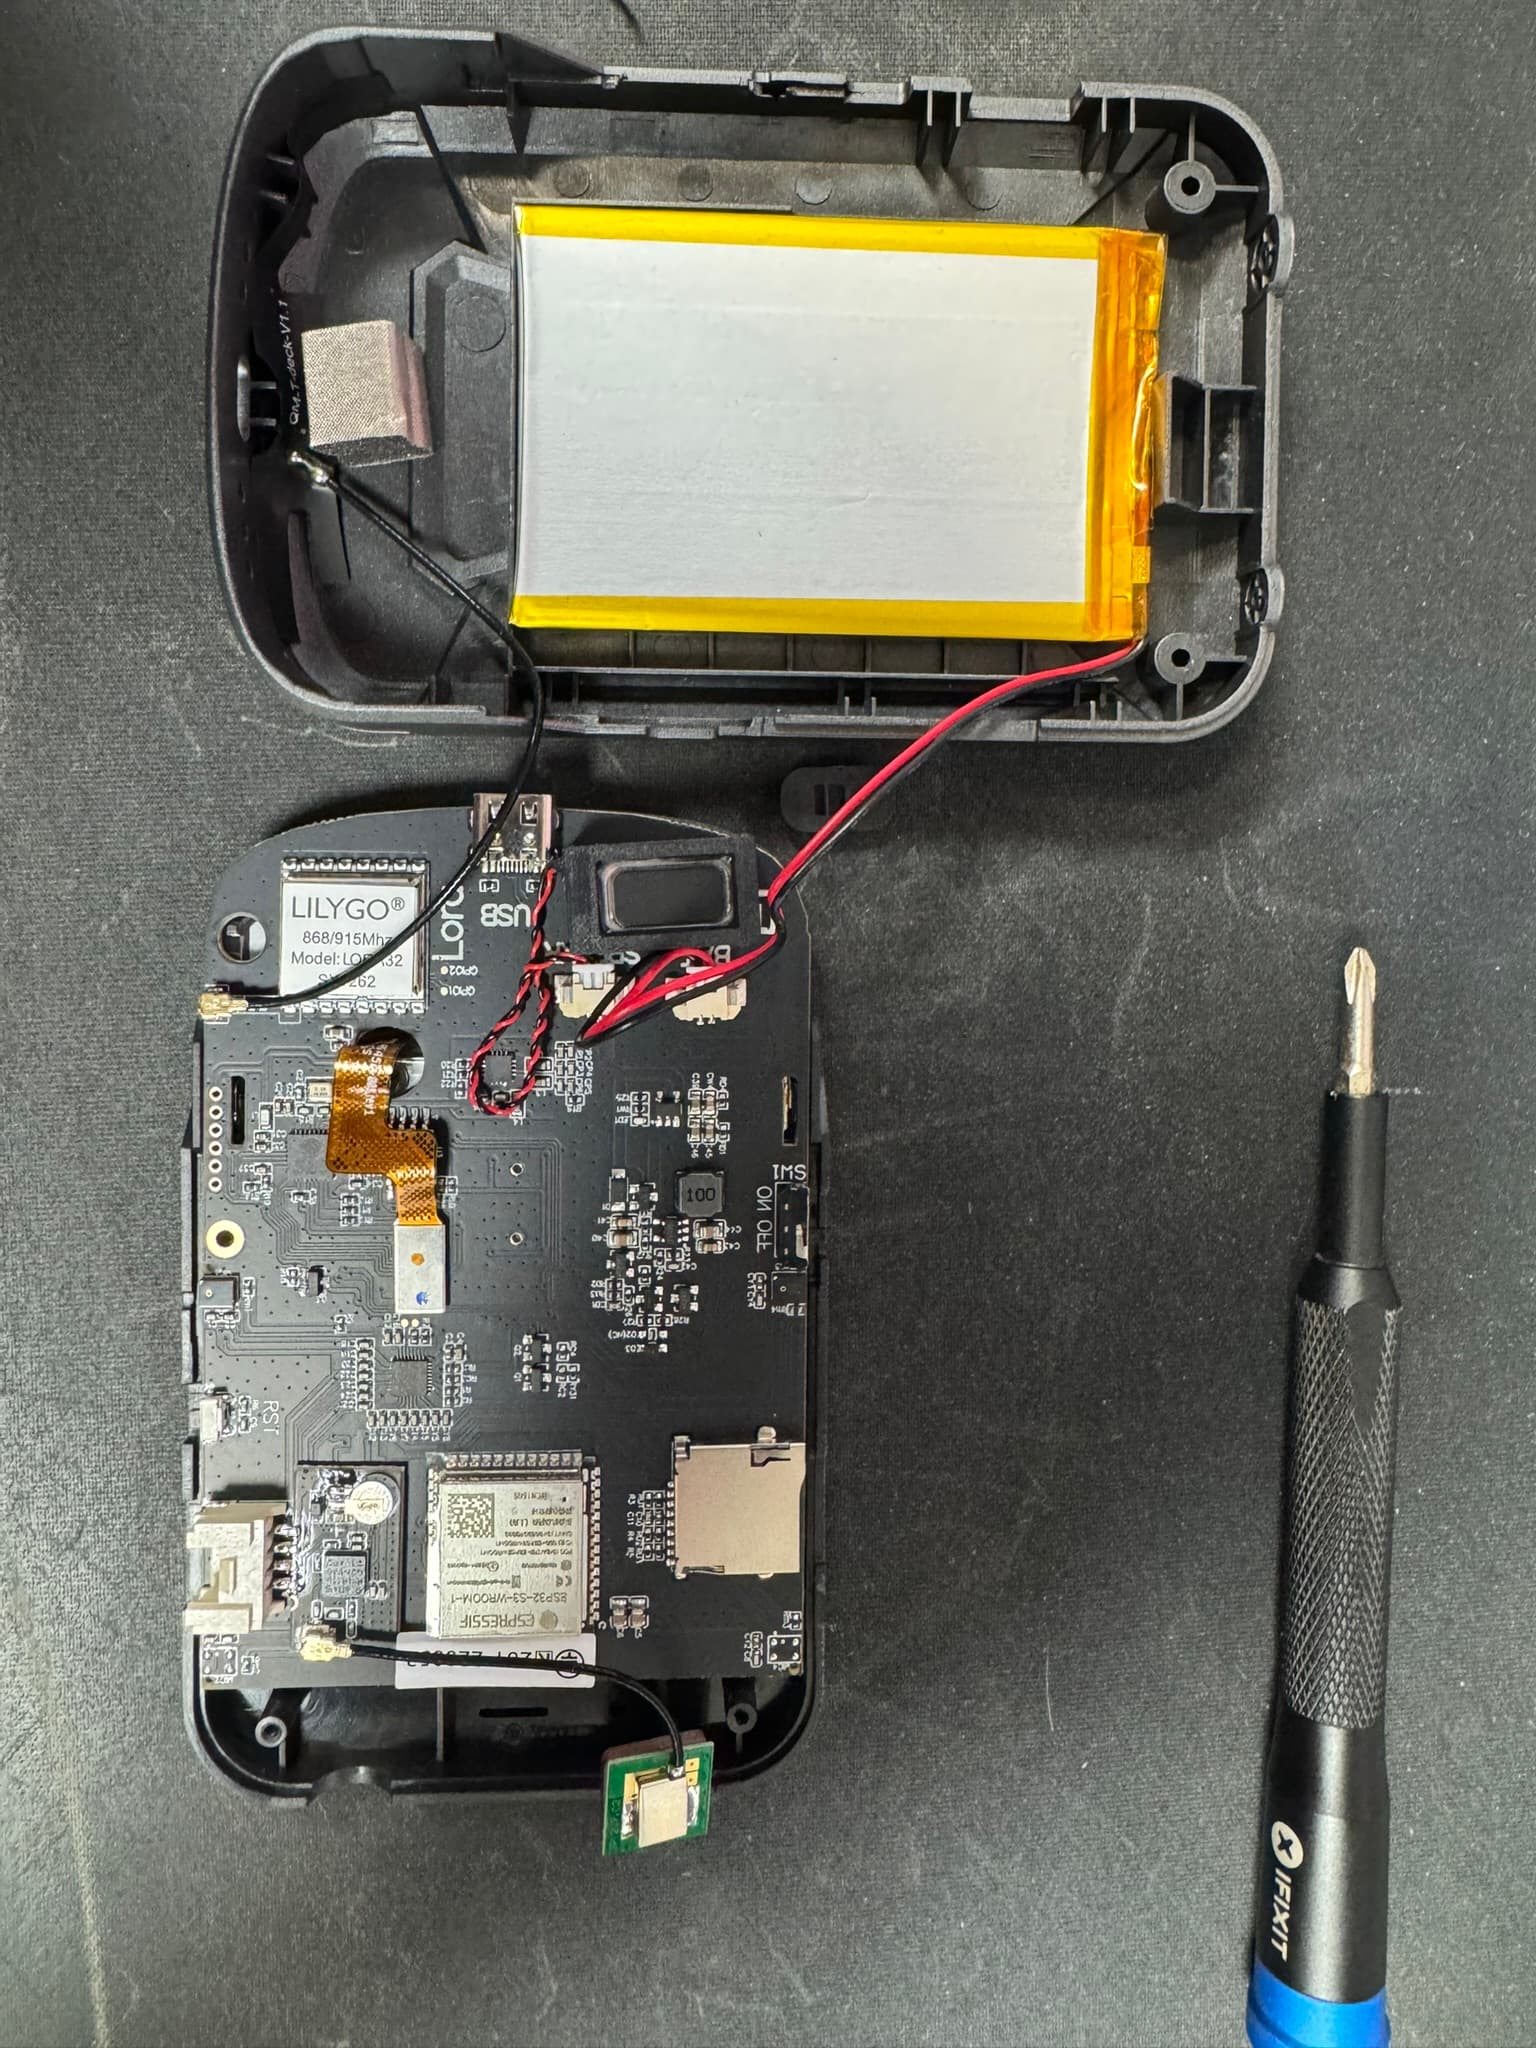
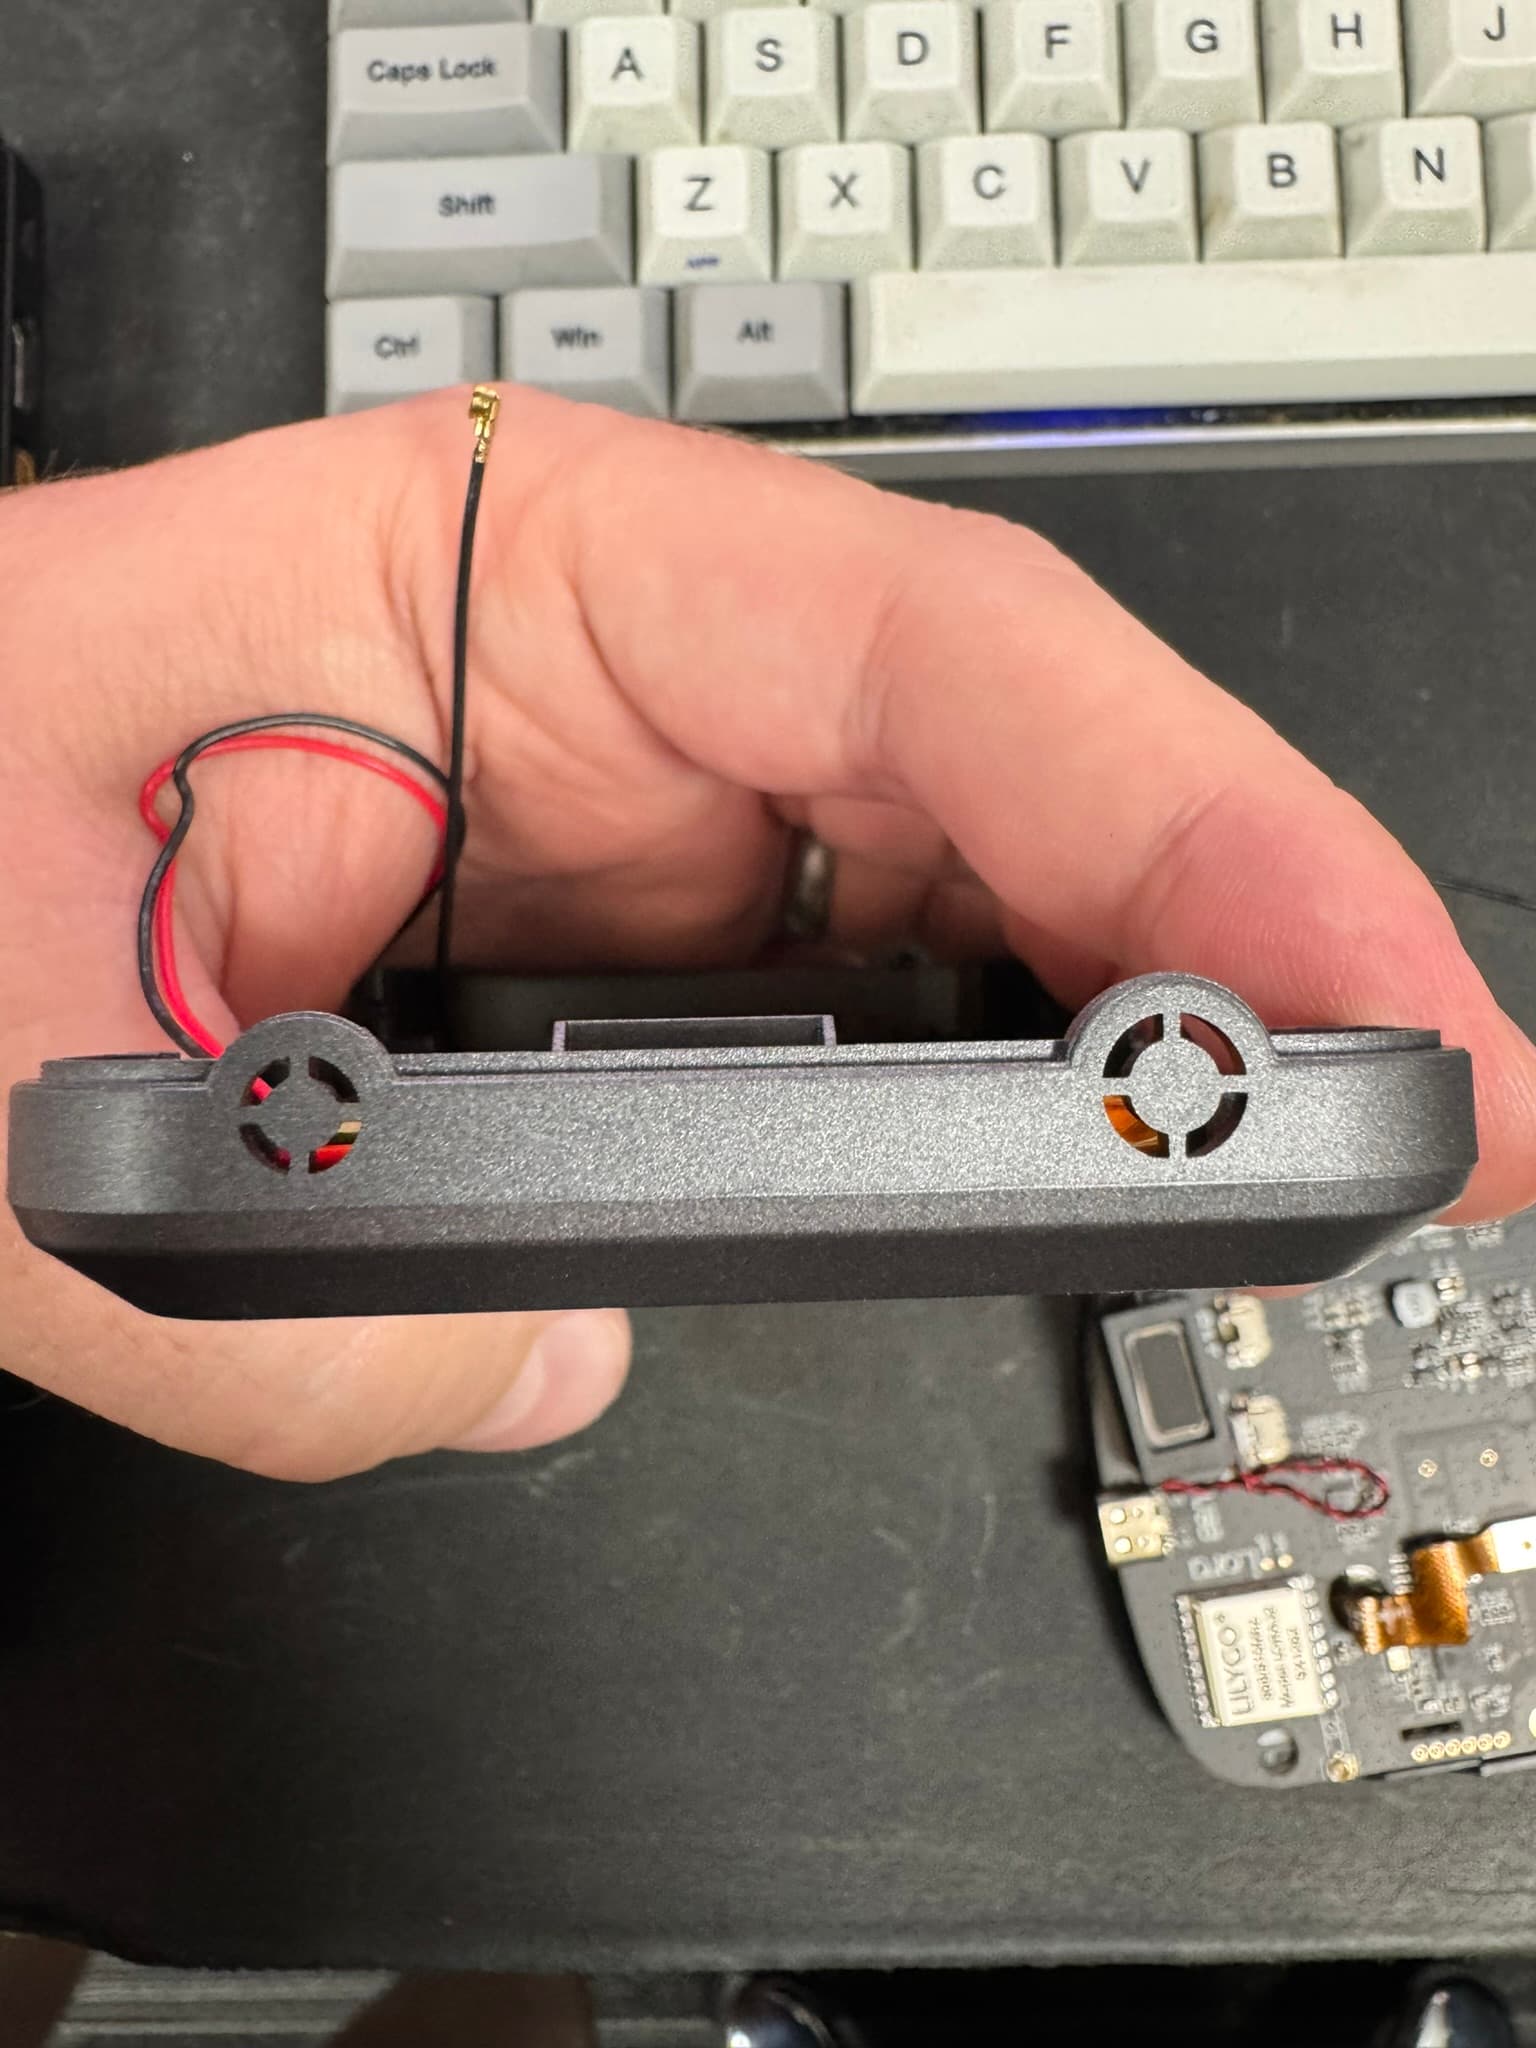
Opening it up was quite straight forward. Two screws on the back. We can see the current antenna is positioned at the base of the case (left of the photo), with a GPS module hanging at the top of the case (bottom of the photo).
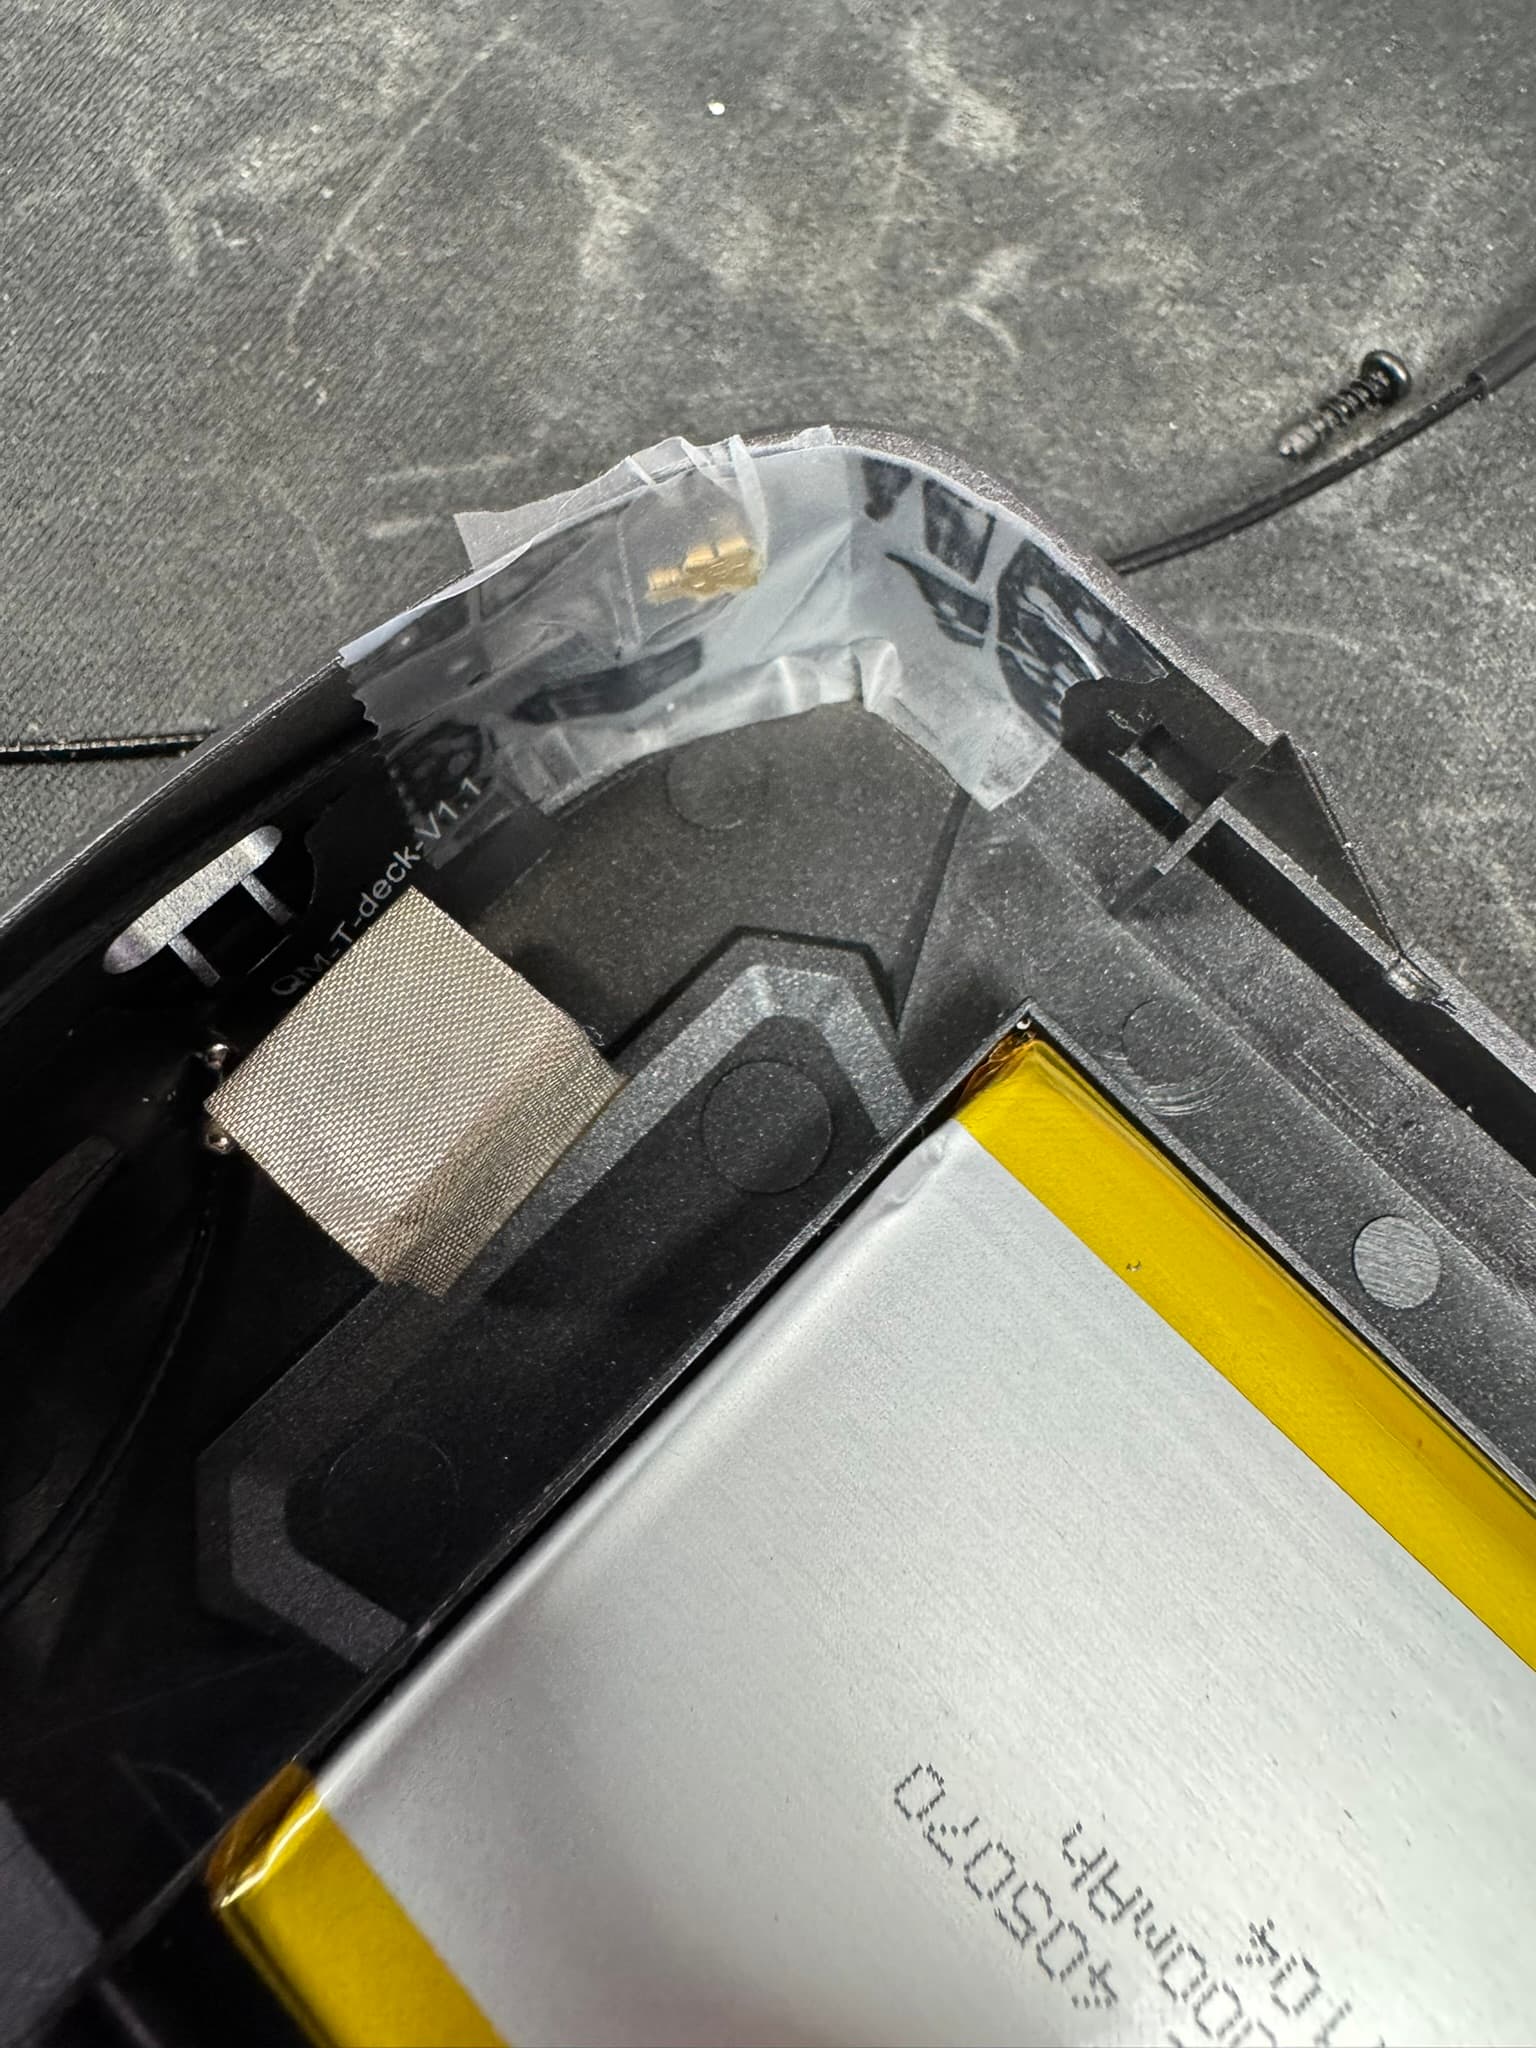
I unclipped the existing antenna and taped it to the case. This didn’t go to well in this position so I adjusted… the case wouldn’t close… so tape it to the back; or get rid of it.
Then we drill out the holes in the top of the case.
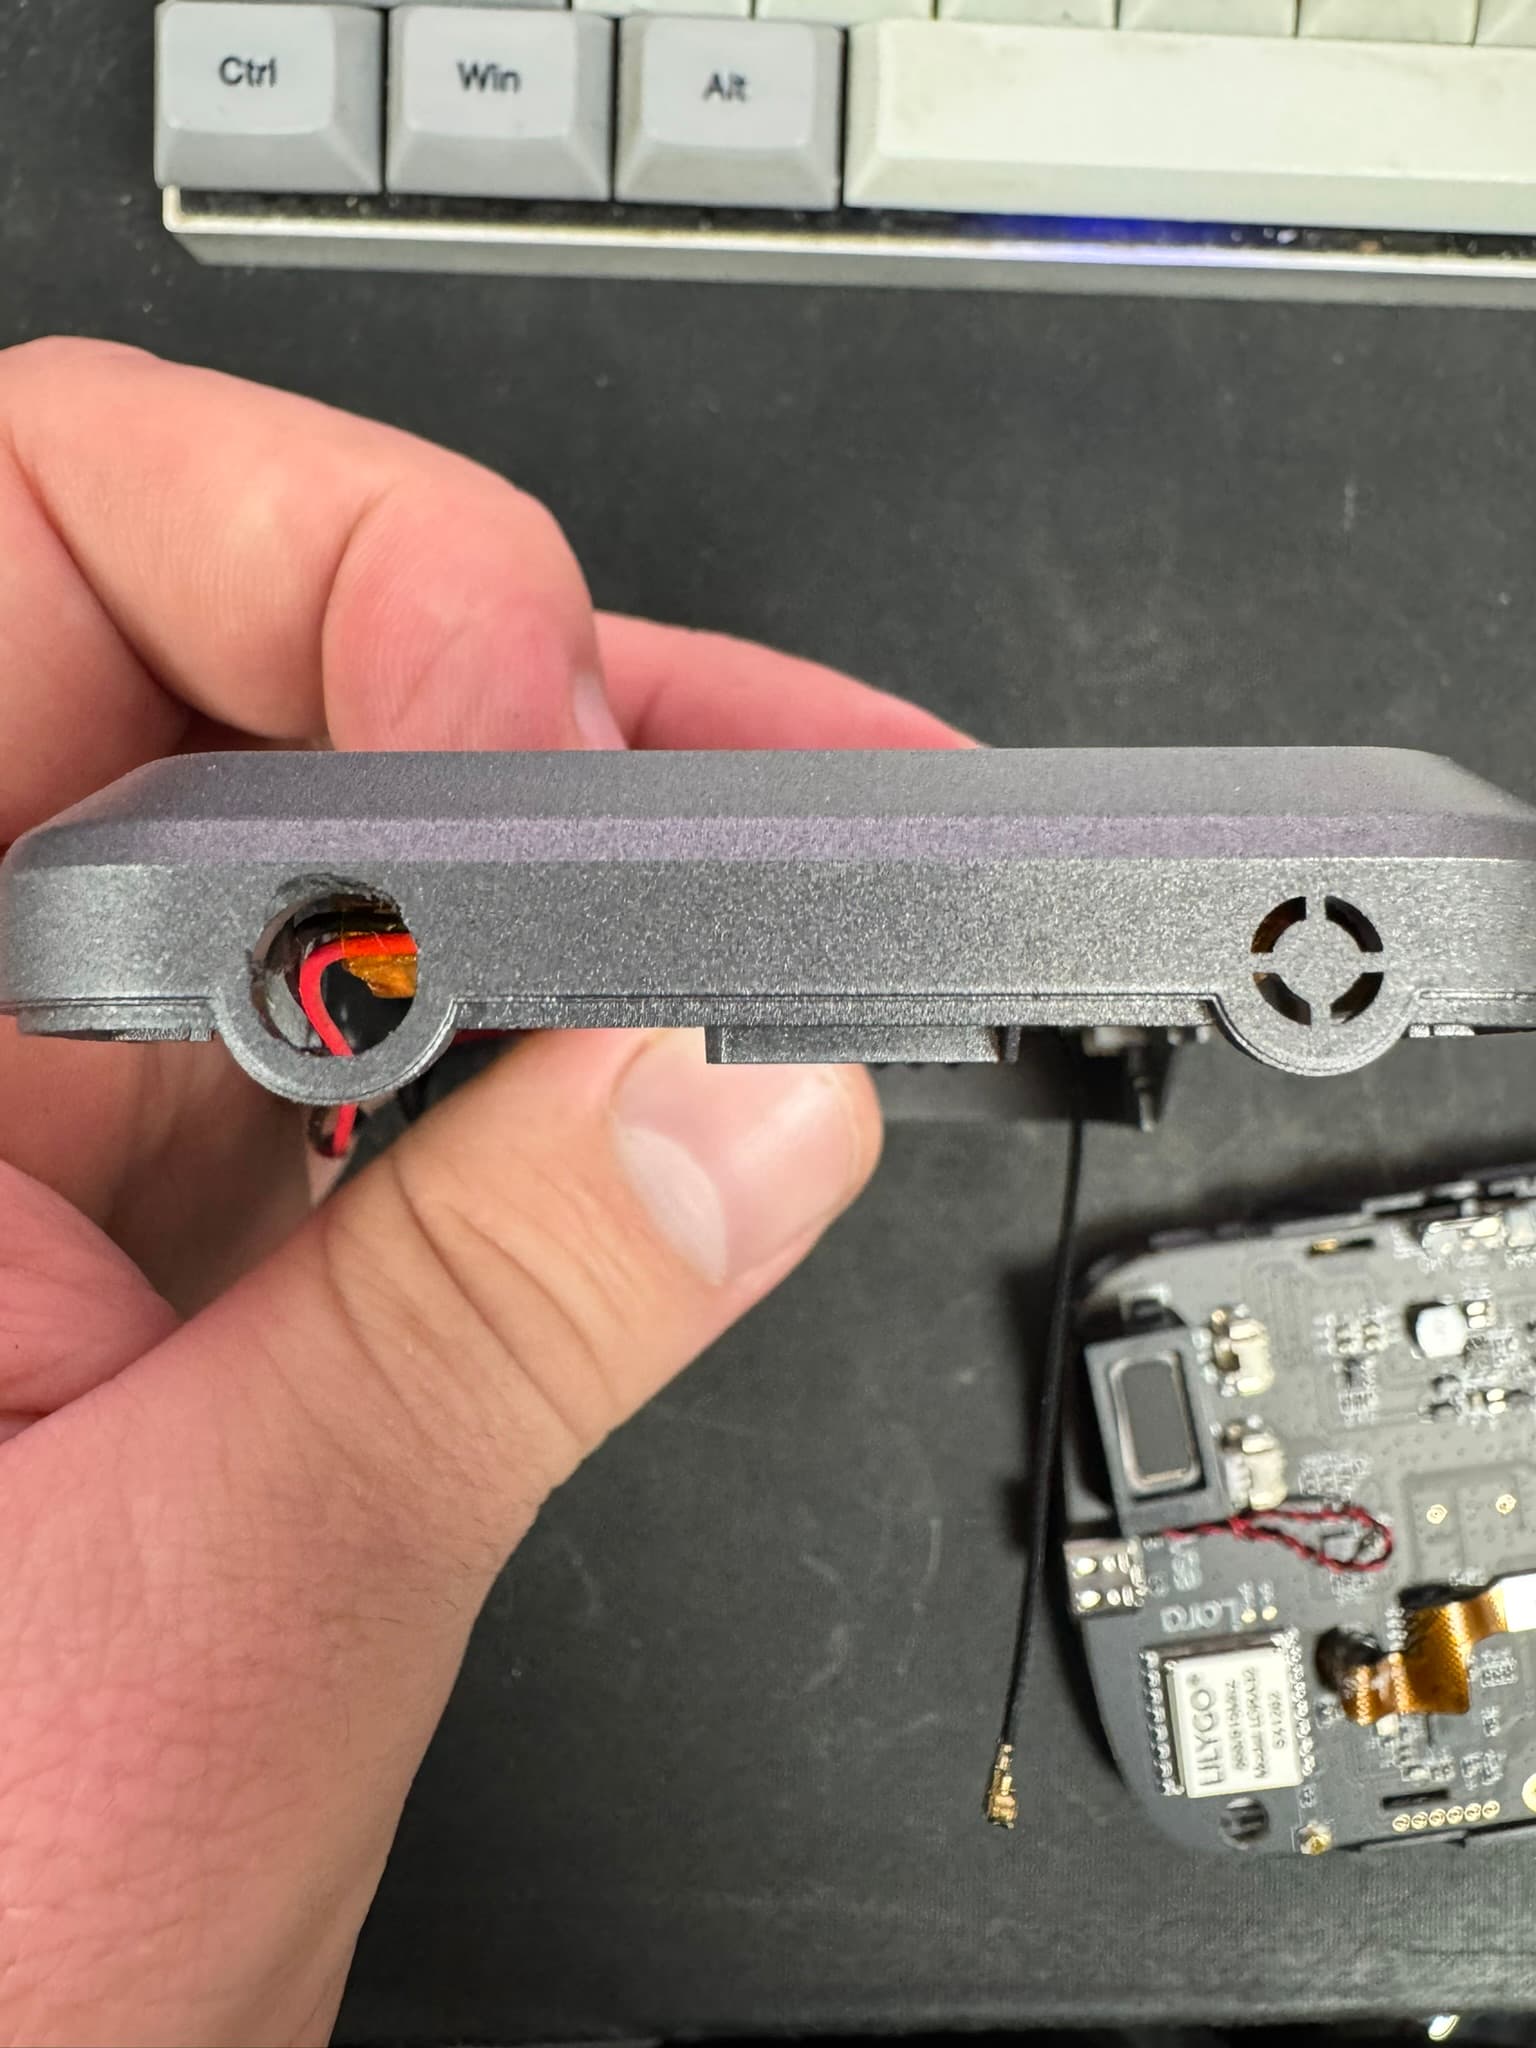
And we get a finished T-Deck with custom firmware and a real antenna.